Replacing a CV joint yourself will save you a fair bit of money, but will require a decent amount of mechanical expertise and time.
If you think the job is too complicated, it’s recommended that you leave the task to a qualified technician. This can also help protect you from voiding any motor plan or warranty.
However, if you already have a little mechanical know-how, replacing outer CV joints is reasonably straightforward. You can also easily buy CV joints for your particular car in South Africa.
What is a CV joint?
CV joints – or constant-velocity joints – are flexible couplings that connect the drive shafts to both the transmission and the wheels.
They make it possible for the drive shafts to transfer torque (force that causes turning) from the transmission to the wheels at a constant speed, while adjusting to accommodate the up and down motion of the suspension.
CV joints are situated at both ends of the drive shafts. An inner CV joint connects the drive shaft to the transmission. An outer CV joint connects the drive shaft to the wheel.
CV joints are used in all front-wheel-drive cars. They’re also used in some rear-wheel and four-wheel-drive cars.
Types of CV joints
Two commonly used types of CV joints, designed to minimise vibration and wear, are tripod-type and ball-type CV joints.
On front-wheel-drive cars, ball-type CV joints are used on the outer-shaft of the drivetrain. Tripod-types are used on the inner side.
Is it dangerous to drive with a worn CV joint?
CV joints are an integral component of your car’s driveshaft system. Any worn or damaged CV joint is potentially dangerous. It could cause you to lose control of the vehicle.
If there are signs of damage to a CV joint, it should be replaced with a new or reconditioned part.
Most manufacturers recommend replacing the CV joints at around 80,000 km. However, it’s not uncommon for a car to clock over 150,000 km with all its original CV joints intact.
The most common problem with a CV joint
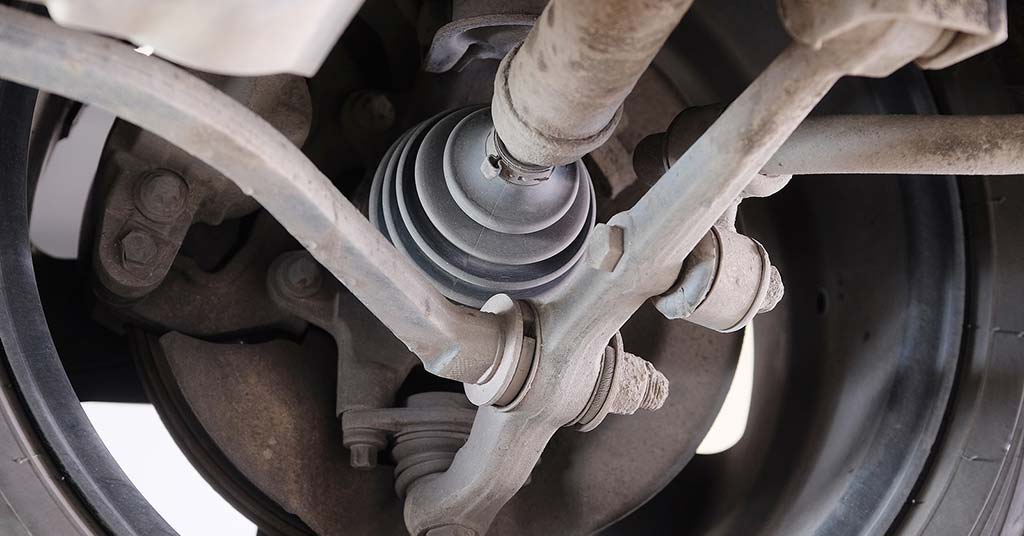
A CV joint is a very durable component. When a problem occurs, it’s usually associated with the “boot” – a rubber/plastic protective covering held together by two clamps.
A CV joint is packed with special grease and sealed by the protective boot. If the boot is damaged, the grease leaks. This reduces lubrication, causing the CV joint to wear faster. It may also allow dirt and moisture creep into the CV joint, causing additional wear.
Usually, the outer CV joint boots are the first to go – they endure more stress than the inner boots.
Common symptoms of CV joint failure
A number of signs may help alert you to worn or damaged CV joints.
Grease splatter on the inside of the rim
The easiest way to spot damaged boots on CV joints is to look for grease splatter on the inside of your wheels.
Once the CV joint boot is cracked or damaged, grease will begin to leak. CV joint grease isn’t the same as bearing or chassis grease. The grease is usually a green to blackish colour and so is easy to spot.

Clicking or popping noise while turning
If your car is making a clicking or clacking noise, it’s best to stop driving it and have it checked out immediately.
In the case of a worn CV joint, a popping or clicking noise will be most audible when turning and accelerating into turns.
Usually, drivers associate this problem with the steering rack. Actually, the sound is a result of the CV joint not having enough grease and/or of dirt getting into the joint due to a damaged boot.
Shuddering or shaking while accelerating
A sign of inner CV joint failure – which is quite rare – is shuddering or side-to-side shaking while accelerating.
As wear increases, minor shuddering or shaking will become more violent, especially under load.
Shuddering can also be associated with a damaged driveshaft, problems with the suspension system or even unbalanced tyres.
How do you replace outer CV joints?
A CV joint kit will usually consist of:
- 1 x constant velocity joint
- 1 x constant velocity boot
- 1 x grease tube
- 1 x nut (where applicable)
- 2 x boot clips.

Before proceeding, you should ask someone to help you with replacing the CV joint. The job is quite labour intensive.
To replace outer CV joints, follow these steps:
- Ensure that the handbrake is up to prevent the car from moving while the CV joints are being replaced.
- Remove the center cap of the wheel and remove the driveshaft retaining nut and washer.
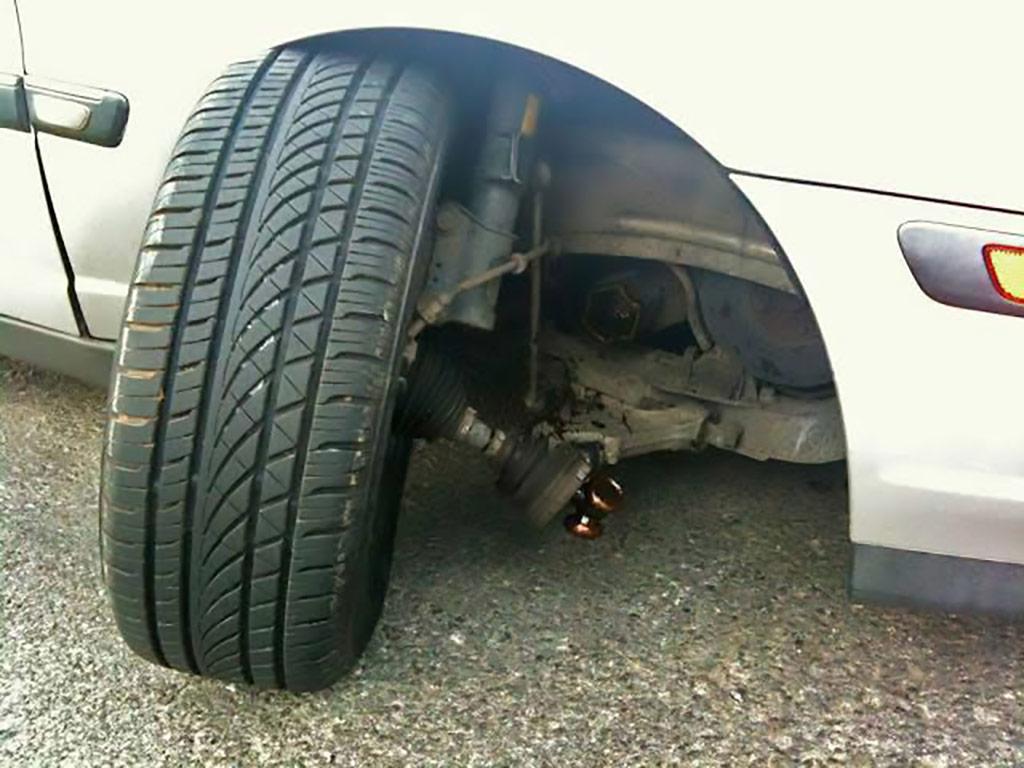
- Loosen the nuts that secure the front wheels. Jack the front wheels off the ground (around 50 mm) and install a trestle on each side of the vehicle for support. Remove the front wheels.
- Loosen the ball joint locating nut, but do not remove the nut altogether. Using a suitable bar, carefully lever the lower suspension arm down to release the ball joint from the hub assembly. Once the assembly is free, remove the nut and lower the control arm assembly. Take extra care not to damage the ball joint rubber dust cover.
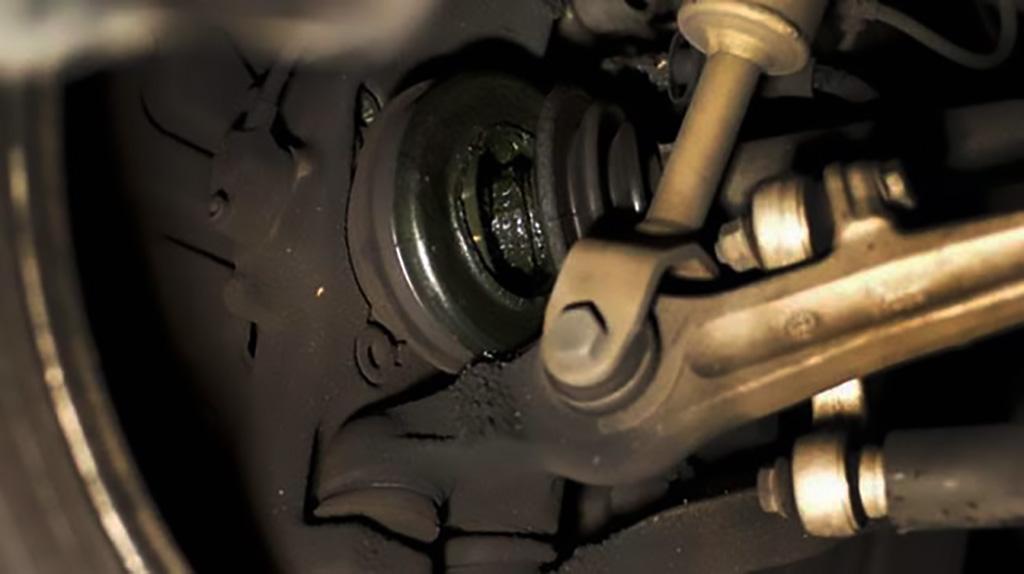
- The inner CV joint can now be released from the transmission housing. Pull the hub assembly firmly outwards. A tripod-type inner CV joint can normally be released by inserting a suitable lever or power bar between the transmission housing and the relevant CV joint. Take extra care not to damage the oil seal while doing this.
- Pull the hub assembly outwards. Slide the CV joint from the hub, and gently pull the driveshaft out from its original locating position. It’s advisable to get an assistant to apply pressure to the brake pedal. This will lock the brake pads when you’re removing the drive shaft securing nut, to prevent the hub assembly from rotating.
- Remove the clamp securing the CV boot and then proceed to remove the CV joint from the drive shaft. You will need to nudge the joint off the shaft using a weighted tool. Be careful not to damage the shaft while removing the joint. You can also use a CV joint extraction tool if you have access to one.
- Refit all the above components in the reverse order they were removed. Ensure that all the relevant parts are cleaned before installation, and double-check that all securing bolts are tightened correctly. Refit the wheel of the vehicle.
- Repeat steps for other CV joints.
How much does it cost to replace CV joints?
The cost of CV joint kits and CV joint boot kits will depend on the particular model and make of your vehicle.
An inner and outer CV joint boot kit for an Audi A3 or VW Golf can be picked up for as little as R200, depending on where you get it.
More comprehensive CV joint kits come with drive shafts and the CV joint along with the boot. These will set you back a little more.
The reason why it can cost up R2000 to replace a CV joint boot at your nearest mechanic is mostly due to the intensity of the labour that’s required.
Masterparts offers high-quality CV joints for most makes and models of vehicles in South Africa. Contact us for advice or complete our online form for a quote.


